This easy way to create handmade watercolor cards will have you painting all day!
Even if you don’t consider yourself “artistic” you will want to try out creating a stack of the handmade watercolor cards once you see how Melinda breaks it down for us. Melinda shared with us that Fall is her favorite season for both the cool air and the beautiful colors which she’s recreated on these simply gorgeous cards. Let’s get started!
Melinda’s instructions today are fantastic so if already have liquid watercolors, you might want to pull them out now so you can paint along. If you haven’t added these marvelous coloring potions to your crafting lineup, this post might just convince you to try them out!
Melinda started by making her card bases, today choosing the mini slimline which is such a fun size and so well suited to today’s layouts. You can make these cards by cutting your card stock to 6″ X 6 ½” and scoring on the longer side at 3 ¼“. We like to make little stacks of different card bases to have on hand so make a few extra!
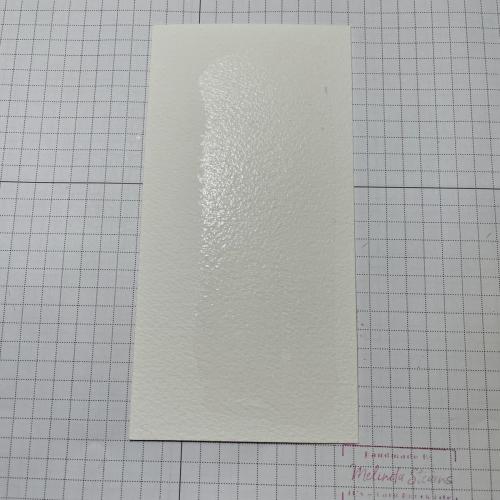
Next, Melinda cut a piece of watercolor paper to 5 ¾” X 3″ and using a medium sized brush, wet the top third of this panel, leaving a border at the top and sides to help contain the watercoloring. Of course, if you like the look of the painting running off the sides of your card panel, you can wet it edge to edge!
Now Melinda took a bit of her Cerulean blue liquid watercolor and lightly dabbed it in one of the corners. Melinda recommends using plenty of water to start because you can always add more color to go darker.
Melinda moved the blue watercolor around, dabbing and painting, leaving some open space white to serve as clouds. You can also use a clean brush to dab AWAY some of the color to shape your clouds.
She set this aside to allow the blue paint to dry before applying the grass so the colors don’t accidentally bleed and blend. While her sky panels are drying, Melinda made her Fall trees!
Melinda some scraps of watercolor paper – you save your scraps, right? – and cut some treetops and trunks with our Spring Tree die. She used Alzarian Crimson, Gamboge, Olive Green and Burnt Umber tp color the trees and tree trunks and set them to dry.
Now while those were drying, Melinda could return to her landscape. She wet the bottom portions of her panels and used green, yellow and a touch of brown to add little swipes of color here and there to add hints of dimension.
Once her grass was dry, Melinda adhered her trees to her landscape. She “grouped” two trees together, popping one up with foam squares to add perspective to her scene. Once her trees were “planted”, Melinda mixed some green and brown liquid watercolors together to create a little shadowing beneath the trees. PRO TIP: Make a dark swipe of color and then clean and use a barely damp brush to move the paint with slightly arching movements to get that lovely mounded look.
Melinda loves the sentiments in our Poetic Peonies stamp set so she uses those frequently. She simply stamped them right over the very edge of her watercolored scene. After adhering her painted panels to a kraft colored layer, she added them to her pre-made card bases and these stunning cards were ready to wow someone lucky!
Here are the items Melinda used today:

We are betting that even people who think they “can’t paint” will try these handmade watercolor cards our and discover a whole new beautiful and fun way to make these miniature works for art for so many different occasions!


