Here’s another fun take on how to make a snowman card for Christmas or ANY winter event!
Apparently, our designers love to make a snowman card with our fun goodies and we are just tickled! The other day, Allison shared this idea and today we have Jamie with another fabulous take on snowmen! We are loving the slightly vintage feel from the plaid paper and her brilliant choice of a classic line drawing of our favorite frosty friends. Let’s dive into the making and see how we can make this, too!
First, Jamie stamped the snowman onto watercolor paper with black ink and colored him in with Inktense Pencils. We LOVE the way she matched her soft coloring with the soft colors of the plaid paper! She then cut him out with our coordinating die and used her glue pen and some glitter to add some “fur” onto his hat and the sparkle to the ribbon on the gift.
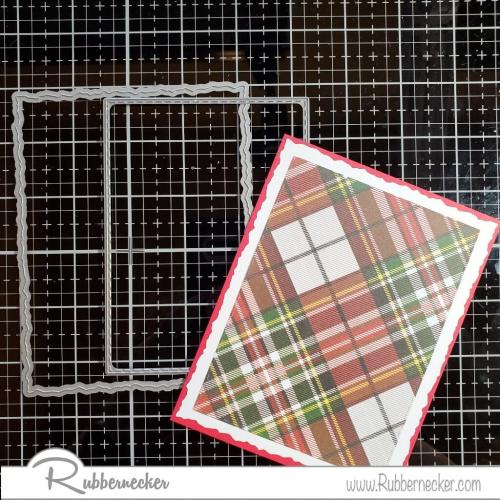
Then she used a die from our Nested Rectangle Small Stitch set to cut her plaid paper and at the same time cut out a piece of white card stock using our Nested Deckle Rectangle dies to layer together with adhesive tape.
While she had her machine out, she also used our Nested Oval Small Stitch die set to cut red and white card stock to layer together as well.
Jamie then used our Snow Flake Frame stamp to add some snowflakes at the top of the white oval with Versamark ink and then heat embossed it with white powder. Using a blending brush, she buffed two shades of Color Fuse Ink over the snowflakes and down into about half of the die cut to add that beautiful sky. When she had everything just so, she adhered the inked oval to the red one with more tape.
Now for assembly! Jamie added her snowman to her inked oval with foam tape and then adhered the oval assembly to the center of the plaid panel with flat tape. She then wrapped some coordinating baker’s twine around the bottom of the entire panel a few times, tying it off with a bow. She adhered this whole thing to her card base.
Last, Jamie stamped the sentiment from our Snowmen With Presents set onto a scrap of red card stock in Versamark and heat embossed with more white powder. She trimmed it closely into a rectangle and popped it onto the card, aligning the left side of the greeting with the left side of the card, with more dimensional adhesive.
SO cute, right? Here’s what she used to make this card:

We think these steps to make a snowman card lend themselves beautifully to batch card making! Each of these steps can be done in small to medium chunks of time and the part that takes the longest, the coloring, CAN be done on the fly! Think about adding this to your Christmas card ideas while doing your planning – you can use this card all season long!


