

Check out how incredible an effect you can set simply using offset layer cover dies!
Rubbernecker Stamps has rebranded and is now Brass & Bliss Craft Co. The items in this blog post can be found on our new website at www.BrassandBliss.com. The shopping links in this blog have been updated to take you to the correct location for purchasing.
Today Dawn is showing us how to offset layer cover dies by just the teeniest margin to add an absolutely gorgeous and deeply dimensional look with nothing more than a few drops of liquid adhesive. You almost can’t call this a technique since it’s so easy but this is something you can do with any of our cover dies. Her version of a CAS card is SO pretty and, well, sweet and can truly be made in just minutes.
Let’s get Dawn’s steps for the making so we can try this out, too.
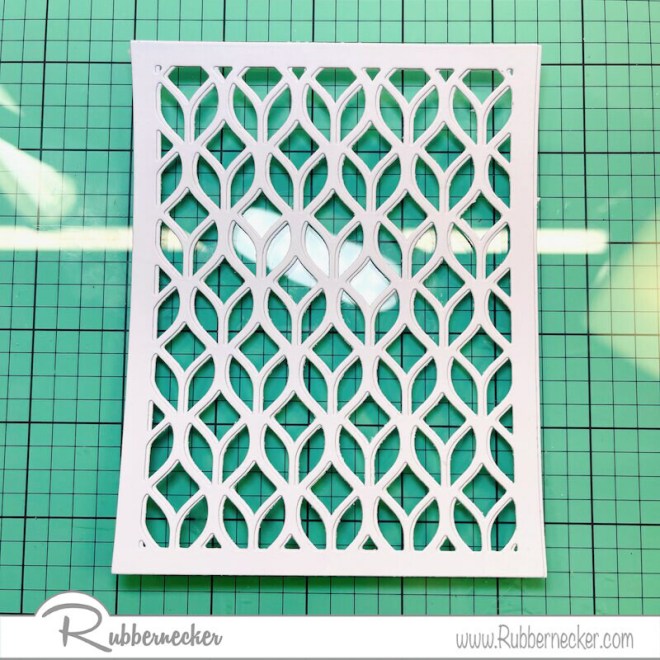
Start by cutting two of our Organic #1 Cover die from white card stock.

Then using your favorite liquid glue, add some dabs to the back of one of the die cuts. PRO TIP: You will want to use liquid glue for this because the liquid glue gives you a little time to wiggle your pieces together in alignment before really sticking them together.

Now layer your second die cut over the first, offset about 1/16th of a inch. Take advantage of the time the liquid adhesive gives you and nudge the top die cut over the bottom one to get that offset evenly laid out.
Use your paper snips or paper trimmer to trim off that tiny overhang.

Cut a piece of colored card stock – Dawn chose this pretty pink – to 4 1/4″ x 5 1/2″. Adhere your die cut element to your colored piece, again with liquid adhesive so you can line it up nice and evenly. When it is dry, trim off any edges to make them nice and clean.

Now for the sentiment, Dawn used our Friend Script W/ Shadow die to cut the script portion from the same color card stock she used for your background and the shadow portion from a lovely green. Dawn adhered her script piece to the shadow with, you guessed it, more liquid glue. Gotta love that wiggle time!

Dawn stamped the word “SWEET” from our Build a Phrase #1 set in Juniper Color Fuse Ink from Set #11 on a scrap of white card stock, trimmed it down and then matted it onto a scrap of the same color she used for the Friend shadow.

She then added dimensional foam adhesive to the backs of all her sentiment pieces.

For a touch of detail, Dawn used our Branches and Leaves die to cut more of the same color as the Friend shadow. Using the same accent color for these elements creates those nice points of interest the eye wants to move around to and creates a ton of visual impact with just color!

Now Dawn made a white card base, adhered her die cut panel to the front with her tape runner and then added her sentiment pieces and her little leaf accents with liquid glue.

This is such a pretty card and we are amazed at all the textural dimension she got setting those die cuts offset by that teeny bit. Here’s what Dawn used today if you want to make one or a stack of these cards:

Now that you’ve seen the effect of offset layer cover dies, the next time you are in your stash, take a peek at which ones you have that you think you want to use this way. This is one of those awesome endless possibilities tricks that you can use over and over!