

An easy stenciling technique makes this undersea slimline card extra cute!
We wish you could see this ultra fun undersea slimline card in person – the stenciling on the background is so full of dimension and depth that it really looks like you are looking through the water! Fortunately, Dawn is so generous with her directions, we are pretty sure you can recreate the look. Check out the how tos!
Rubbernecker Stamps has rebranded and is now Brass & Bliss Craft Co. The items in this blog post can be found on our new website at www.BrassandBliss.com. The shopping links in this blog have been updated to take you to the correct location for purchasing.
Dawn started by stamped all the images from our Under the Sea #2 set she thought she might use onto a piece of Copic-friendly paper with Copic-friendly ink. Dawn likes Copic X-Press It paper.

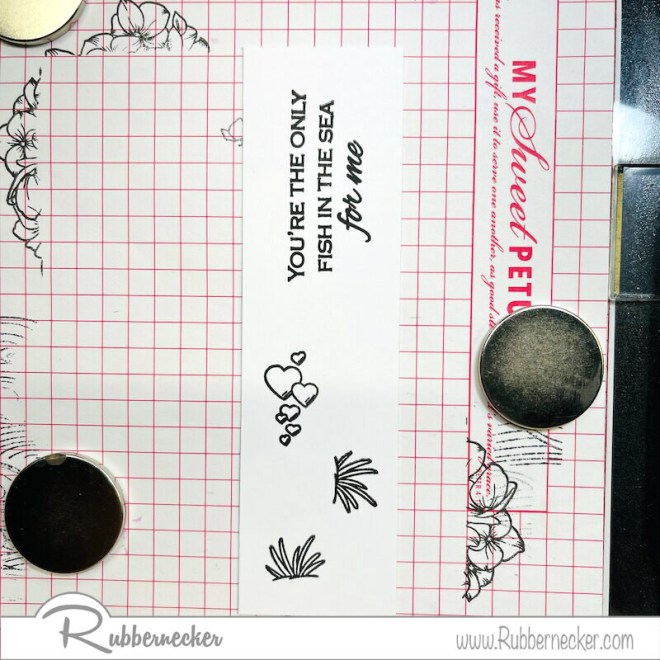
She also stamped her sentiment and little details on a scrap strip.
Dawn colored in her images using the following combinations:
- Red – B34 R89 R56 R35 V95
- Yellow – BV31 Y38 Y15 Y02
- Blue – Y23 B28 B26 B04
- Orange – B32 R27 YR07 YR04
- Purple – Y38 V09 V17 V15 RV55
She used little bits of old washi tape to secure the coordinating dies over the elements she wanted to use and cut them out with a quick spin using our coordinating Under the Sea #2 die set. She also trimmed her sentiment into a neat rectangle.

For that glorious background, Dawn cut a piece of white card stock 4″ X 9″ and set our Slimline OPC Wavy Die over it. Dawn says “It is very helpful to have a magnetic board and magnets to hold your stencils down.” We agree! If you don’t have a magnetic work plate, you can use washi tape. But securing the stencils down over the work surface definitely does help your results come out beautifully.
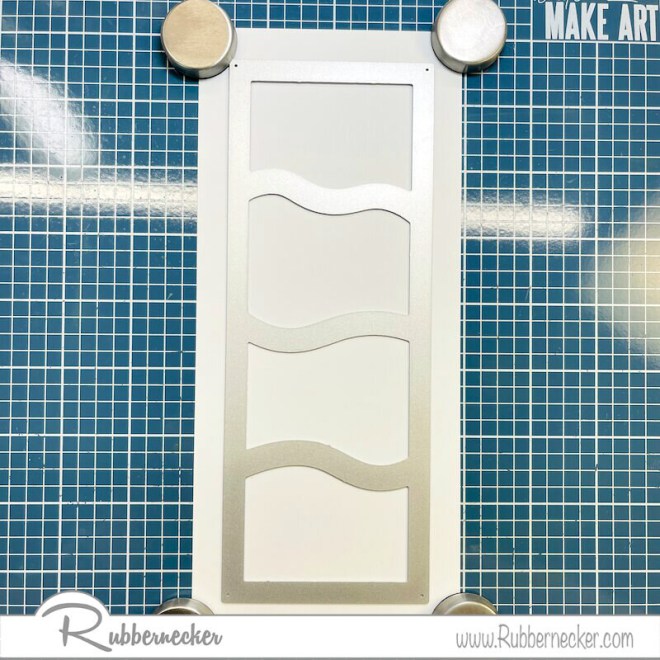
Dawn took a pencil and lightly drew a line under the last wave. This creates a visual cue to know where to stop the water and start the sand.

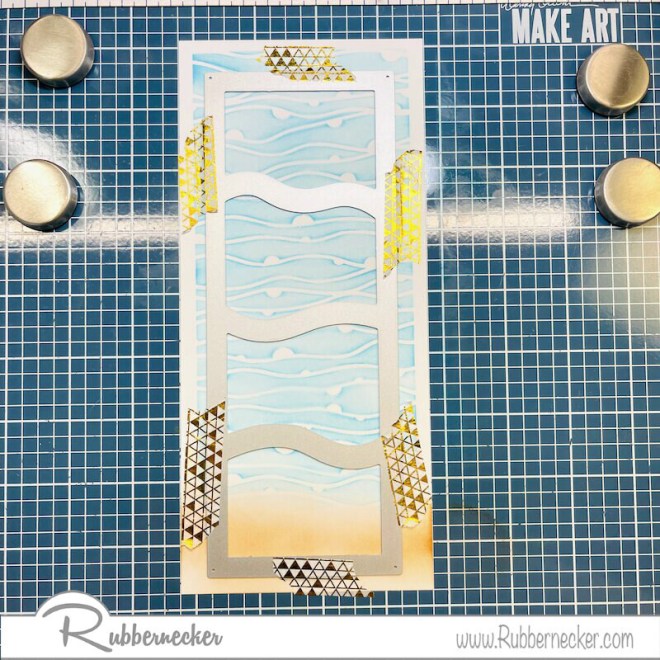
Now Dawn set our Slimline Bubble Wave over her panel and blended a light application of Sonata Color Fuse Ink from Set #8 over it, randomly and not evenly. This help create the striations and variations of color that adds to that amazing dimensional look of the water.

Dawn repeated this light, random application of ink using Sierra Color Fuse Ink from the same set. Again, leaving spots uninked with some areas darker than others is a benefit for the overall look so don’t spend any time worrying about “even” inking.

When she’d finished with her blues, Dawn removed the stencil and erased her pencil line. Just LOOK at that beautiful, almost shimmering water!
Now Dawn created her sandy bottom by blending some Mocha Color Fuse Ink from Set #3 over the bottom area of the panel. This time, Dawn did go for more thorough coverage but also did not worry about EVEN coverage. The variations in depth help here, too!

She then went in with some Caramel Color Fuse from the same set and you can see the texture of the ground emerging.

Dawn did use some sand colored Copics to add some sandy dots to this area, accenting them with dots from with her white gel pen. (Shown on the final card images.) When she’d added all the color she wanted, Dawn cut the panel with the Slimline OPC Wavy Die.

Dawn then adhered her cut out pieces back into her frame and arranged her other die cut elements over the panel until she loved what she saw. She adhered her little fishy friends and details with adhesive tape and pieces of foam adhesive to add some dimension. She added her panel to a slimline card base and this card was ready to absolutely delight the seashells off someone special!

Here’s what Dawn used from our store today:
- 3415 Under the Sea #2 – 4×8 Stamp Set
- 3415D Under the Sea #2 Coordinating Die
- RN 4116 Slimline Bubble Wave – 4×9 Stencil
- 5325-04D Slimline Wavy Die
- Color Fuse Set #8
- Color Fuse Set #3

We can see using this sweet undersea slimline card for everything from a birthday card to an encouragement card to an invitation to, well, just about any card-worthy occasion! Try it out and see if you don’t just fall in love with the final look!