Hi there! Annie here today with a bright and cheerful card with touches of gold made with one of the gorgeous new Spring Layered clear stamp sets from Rubbernecker. The big, beautiful blooms in the Blossoms in Spring stamp set can pass for several different varieties of flowers, making it a super versatile set for year-round stamping and cardmaking when paired with all of the beautiful shades of the new Color Fuse ink.
Haven’t tried the Color Fuse Ink pads yet? Don’t wait another second to snatch them up! I made this card before my Color Fuse inks had arrived, and it took me a long time to find color combinations that worked well using the ink pads from my stash. Color Fuse takes away all that guess work for you and leaves a beautiful stamped impression, even on solid images like the base layer here.

LAYERED STAMPING
- Stamp the solid layer of the flower from the Blossoms in Spring stamp set in your lightest ink. Here I’m using a light peach and a poppy red color to create some bright blooms that resemble Gerber daisies. Stamp the detail layer of the flower with a medium shade and the outline with the darkest shade of ink. Add a light yellow shade of ink to the center of the flower.
- Stamp several leaves for the floral arrangement using a light and medium shade of green ink.
- Fussycut the flowers and leaves out with scissors, leaving no border. If you don’t like fussycutting, there are even coordinating dies you can use!
CREATING THE BACKGROUND PANEL
- Trim a piece of white cardstock to 4.175″ x 5.375″.
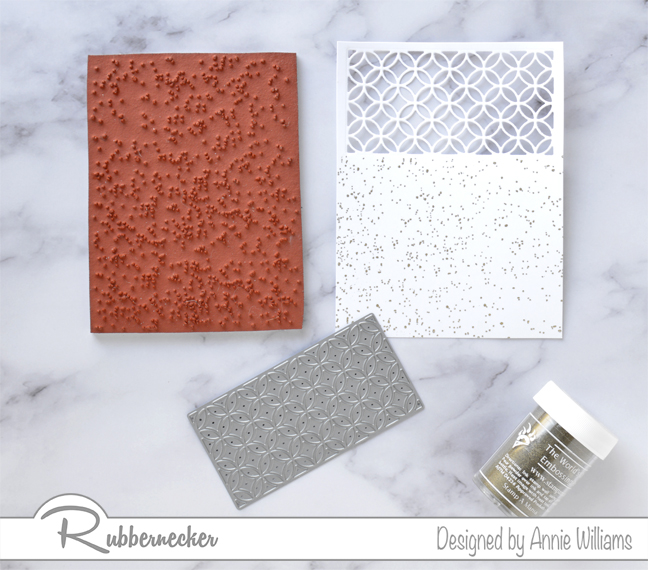
- Die cut the left side of the panel with the Circle Lattice die, making sure there is an even border around the top, left, and bottom edges.
- Stamp the right side of the panel with the Splatter Background stamp using Versamark Ink. Add Mirror Gold Embossing Powder and melt with a heat tool.
GILDED SENTIMENT
- Die cut the Hugs sentiment once out of blue cardstock and twice out of white cardstock.
- Apply gold metallic wax to the bottom half of the blue die-cut with a blending tool. Alternatively, for a more intense look, roughly apply Versamark Ink by swiping the ink pad over the bottom half of the die-cut, add Mirror Gold Embossing Powder, and melt with a heat tool.
- Adhere the three die-cut layers together with liquid glue (placing the blue layer on top).
CARD ASSEMBLY
- Adhere a small panel of light blue cardstock to a top-folding A2-sized white card base with tape runner.
- Pop the stamped and die cut background panel on top using foam adhesive, ensuring the light blue cardstock shows through the die cut window.
- Adhere the flowers and leaves to the card front, partially covering the window, using foam adhesive.
- Adhere the gilded sentiment in the top right corner using liquid glue.
I hope you enjoyed this bright and cheery card project and thanks so much for stopping by today. Be sure to check out Rubbernecker Stamps on Instagram or visit their Facebook Fan Group for tons of inspiration!


What a beauty!