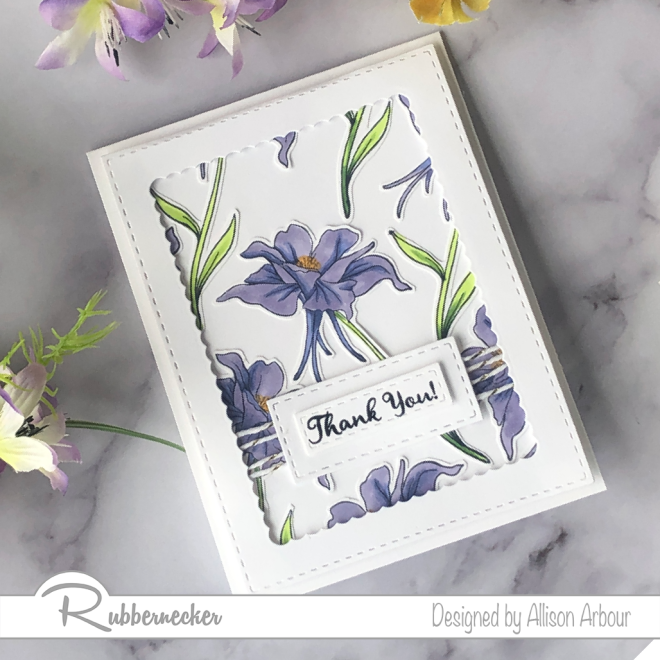
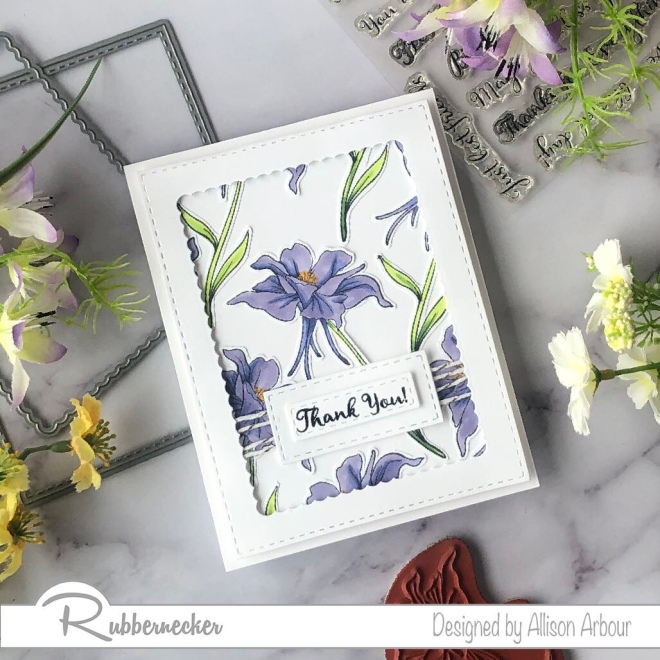
It’s winter where I am here in Canada, but it’s spring in my craft room today making some flower Thank You cards! A columbine flower instead of snow? I say Yes! The soft purples are just what I need to brighten my day. Let’s take a peek:
If you would like to recreate this card or for some inspiration you can follow these simple steps.
Step 1- I started by stamping with memento black ink on white card stock the Single columbine flower 4 times. I coloured each image in with Copic markers using the colours BV17, 13 and 11 for the petals and the leaves were coloured in with YG17,03 and YG00
Step 2 – I then fussy cut each flower and glued flat to a 4 x 5 1/4′ panel of white card stock. I trimmed the excess pieces hanging over the edges and glued down to the panel as well where I thought it needed some colour.
Step 3 – I wrapped some gold and white twine towards the bottom of the panel and attached the sentiment “thank you” from the Best friends clear stamp set that was die cut using the Nested pierced rectangles dies. I added some extra glue behind the sentiment since it was being attached to the twine.
Step 4 – I completed the card by making a frame using the largest die from the Nested stitched rectangles die and the second largest Nested scalloped dies
So what do you think? Easy enough? We love seeing how your project turned out, so be sure to share your cards using the #rubberneckerstamps hashtag on Instagram, or share them in the Rubbernecker Fans Facebook group. I hope you enjoyed my flower Thank You cards today and hope it inspires you to give it a try.
Crafty hugs,
Alli


