In keeping with our theme of gratitude, today we are particularly thankful to Allison for sharing this enticing trio of rainbow thank you cards. We just LOVE how she’s showed a way for us to make three cards in one fun session because as much as we love immersing ourselves in our craft, sometimes we have to be efficient, too!
Allison said she wanted to show off the versatility of one of the slimline insert dies we created and we are just in awe of what she did and how she did it. Let’s dive in!
First let’s take a look at all three rainbow thank you cards we have to show off today. You may notice that the color schemes are similar but they all look very different. What a cool way to save time but still make cards that are unique and special!
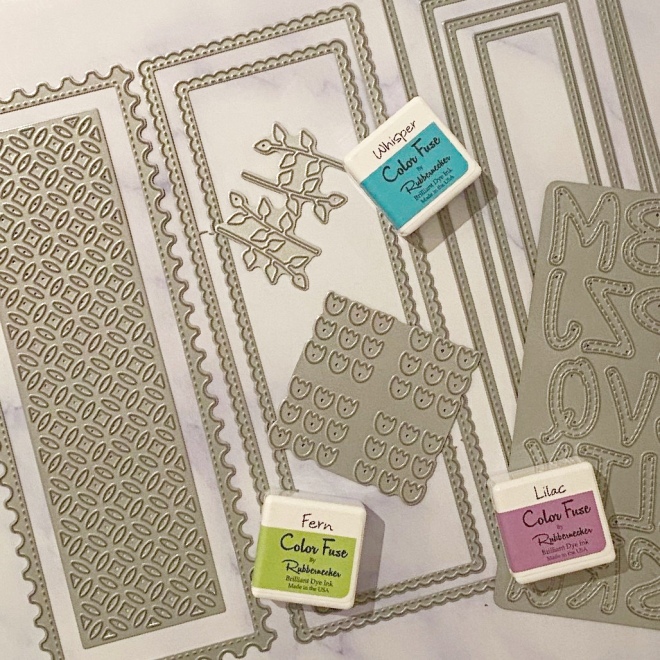
To start she combined the Slimline Postage die with the Circle Lattice slimline insert die to create a front panel out of white card stock. PRO TIP: If you have a magnetic plate, use it to help hold your dies in place. If you don’t – no worries – use a little washi tape (it’s a great way to use up the stuff you don’t like!) to hold them down to keep your dies in perfect alignment. Set this double die cut piece aside.
Then die cut the lattice die one more time on white card stock.
Now, place your panel with the lattice opening over yet another piece of white card stock and tack it down with a little more of that (ugly) washi tape (lol) so it doesn’t wiggle around. Allison chose the second shade in each of six color families of Color Fuse ink and blended stripes of the inks over the lattice and into the sheet below.
Guess what you end up with? A panel like the one below with a beautiful “stenciled” rainbow AND the rainbow colored lattice panel! That’s TWO card pieces so far……
Now grab yet another piece of white card stock and just blend some rainbow stripes over it side to side.
You will use this with your double die cut panel for your third rainbow thank you card!
Now you can start putting them together…..
For the card with the large die cut “Thanks” card Allie used two of the dies from the Nested Slimline Die Set to make a frame and added the inked lattice panel – the “stencil” – behind it. She added the word cut using the Upper Case Alphabet With Stitch Die Set over the center and – voila – done and fabulous!
Then taking the “stenciled” rainbow panel, she used a die from the Nested Scallop Slimline Dies and cut a panel to fit her slimline card base. She then used our Tulips die and her copics to create a sweet little tulip garden behind a tiny panel stamped with the greeting from the Autumn Fire Clear Layered Stamp Set.
And for the third card, she took the double die cut panel and her rainbow striped panel and laid the two together to create that peek-a-boo look. She added the same greeting from the Autumn Fire set but heat embossed it in gold and cut the panel using one of the Nested Stitched Dies. PRO TIP: Lots of white space helps colors show up in a vibrant and focused way.
Here are the Rubbernecker products Allison used:
Autumn Fire Clear Layered Stamp Set (sentiment)
Color Fuse Ink Pads – sets 1, 2, 5, 6, 9, 11
What do you think? THREE rainbow thank you cards all from one glorious card making session! Try these out with your favorite shades and change them up for the seasons!


These rainbow designs are so pretty, love the softer tones on these slimline cards.