Revisit an old technique with this GORGEOUS shaving cream background Fall card!
While the technique might be a blast from the past, this shaving cream background Fall card has a modern, bold black on color twist we love! Julie used a piece of shaving cream background she had left over from another project – SAVE THOSE SCRAPS! – and decided to add a beautiful, almost Art-Deco style design to make a Fall card that is perfect for any occasion.
And now, with the entire line of Color Fuse Inks available in refills, bringing back the often underappreciated shaving cream technique is even easier. If you aren’t familiar with this technique, it is SO easy and can give you a look that is hard to duplicate any other way.
Simply spread shaving cream – the cheaper, the better – into a mostly smooth (it doesn’t have to be perfect) surface and drip a few colors of ink onto it. Gently swirl the ink into the shaving cream and then lay your paper down over the surface. Hold for just a couple of seconds, lift off and wipe away any remaining shaving cream. You can often get several panels out of one application so repeat until you’ve exhausted the ink supply.
On to this card! Julie took her shaving cream panel and cut it with one of the dies in our Nested Rectangle Stitch Die set. Then using our Veined Leaves Background stamp, She stamped VersaMark over it and heat embossed with detail black powder. PRO TIP: When heat embossing a design where the fine lines are an integral part of the look, always use detail powder to make sure those details are cleanly visible. PRO TIP 2: If you feel your design needs more coverage, while it is still warm, reapply your embossing powder and repeat the heat embossing process.
Then Julie cut a piece of black card stock with the largest die in our Inside Scallop Nested Die set and layered her embossed panel onto it with her tape runner and then added the assembly to a card front.
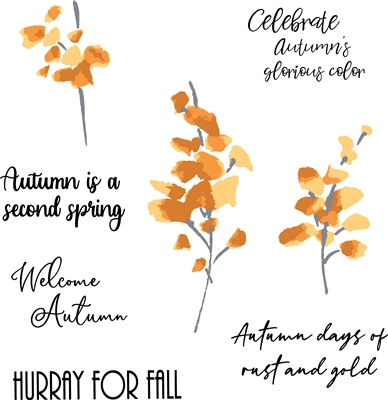
For her sentiment, Julie stamped it onto a scrap of white card stock and trimmed it close. She layered that onto a scrap of black card stock cut to add a border and then added that to a piece of white card stock cut with the smallest die from the same Inside Scallop set. She popped that onto her card with some dimensional adhesive and the card was ready to WOW!

Here are the items from our store that Julie used today:


