

Use the die cut inlay technique to create TWO cards at once!
These super cute cards take full advantage of the usual die cut inlay technique with a quick and easy twist. Instead of scrapping the leftover pieces from your inlaid die cuts, just do an even swap of outsides and insides and create opposite elements, both totally usable!
Renee loves our Christmas Inchies set because, as she puts it, it’s “a great stamp set to use if you want to make a “winter” card versus a Christmas card”. She stamped a few of the adorable characters on white card stock and colored them in, die cutting them out with our coordinating dies for some instant gratification.

For her blue background, Renee used two different colors of ink spray and spritzed a sheet of white card stock. Using the two shades of blue gave this piece lots of visual interest and just a hint of a wintry feel – perfect to go with her other silver panel.
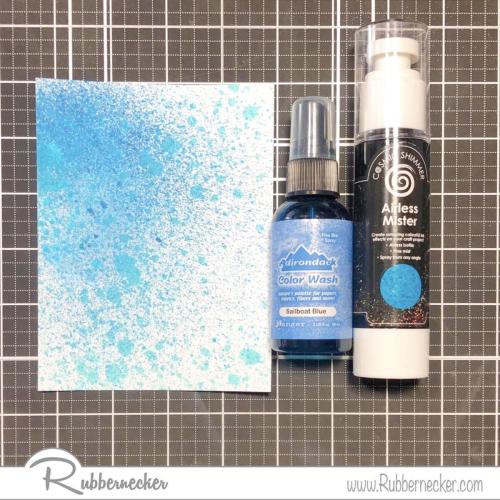
When her spray was completely dry, she die cut that piece and her silver card stock with our Frame with Curves-Pierce die, making sure to save all the pieces. PRO TIP: Always allow any card stock you plan to die cut dry completely, even if what you’ve applied is smudge proof; damp paper can tear rather than cut and then your die cuts might have fuzzy edges.
NOTE: The photos here just do NOT do the silver card stock justice. It reads as brown in the photos but you have to trust us that the gorgeous shimmer adds so much fun to these two cards!

Renee cut two blue card bases and had them ready. She adhered her blue ink sprayed frame to one and her shimmery silver frame to the other. She then swapped the cut out pieces, adhering the blue sprayed ones inside the silver frame and the silver ones inside the blue frame. Can you see the incredible possibilities with this fun twist? Picture all the different dies we have that have cutouts in the centers. And now picture them with their swapped out partners…….SO many ideas, right?

Now the fun part! Renee had a blast arranging all her little die cut elements, adding them to her cards with varying thicknesses of foam tape. She stamped her sentiments on scraps of white card stock, trimming one into a neat rectangle and offsetting it with a matching piece of silver. For the other, she die cut it out with a circle die and popped it over a silver scallop die cut.


We can’t stop thinking about the dies we have and how many different ones would be so perfect for this easy way to get a next level effect using this easy die cut inlay technique. Are you as inspired as we are?